
Keep your assets organised.
Upload once. Find it quickly. Use it when you build.
Your files, in one place.
4 example assets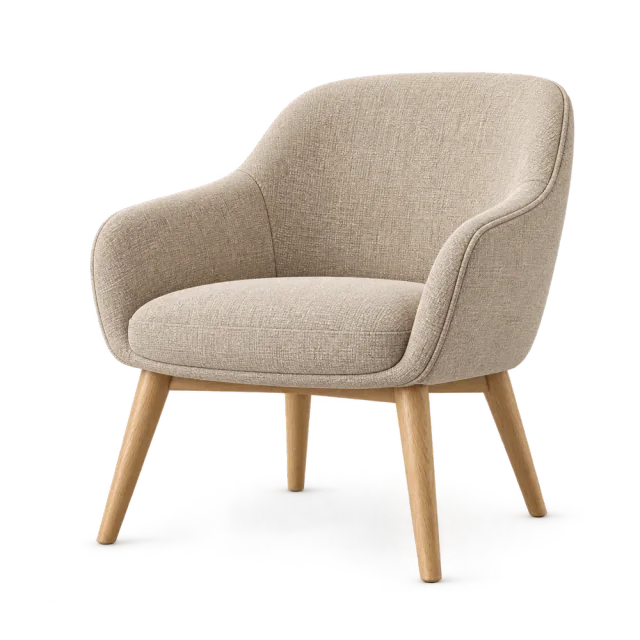
chair-demo.glb3D model · Chair demo
upholstery-sand.webpImage · Chair demo
legs-oak.webpImage · Chair demo
finish-oak.webpImage · Door layers
4 example assets
01
Bring your files together.
Upload images and 3D files to Assets.
?
Keep an editable master outside the website. Use compressed web copies for images, and check a GLB in the 3D Viewer before building.
Upload files
Images · GLB models
3D modelOption image2D layer02
Create a folder. Add your files.
Keep one product’s files together.
?
In Assets, use New folder, enter a name and Create folder. Upload or move the related files into it. This local demonstration adds example files only; no workspace folder is created.
+ New folder
▱ Door layersExample folder created
Next, put the related files in this folder.
finish-oak.webpfinish-sample.webpTry New folder → Create folder.
03
Find a file. Use it in an option.
Open Choose from Assets and select your image.
?
This picker illustrates an option card image. Selecting a card image does not connect a 2D layer or change a 3D material. Review Image connection or Model connection separately in Options.
Choose from Assets
▱ Door layers
Option image
Oak
Selected imagefinish-oak.webp
Select an image to see it on the option card.
YOUR NEXT STEP
Open Assets Try it in your workspace.
Use the guide beside your own configurator.