
Prepare your product
Prepare your 2D layers.
One canvas. Aligned layers. Clear product choices.
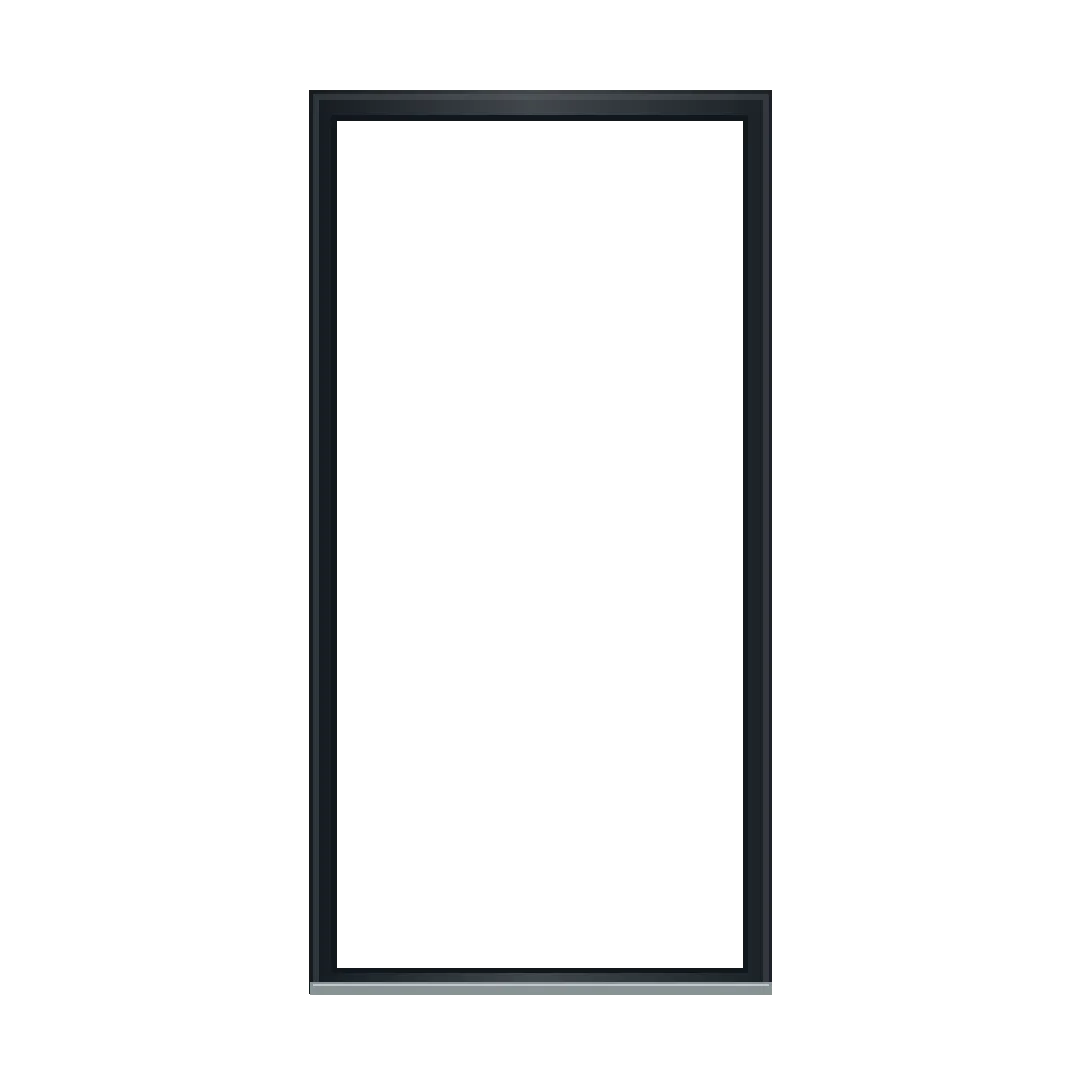

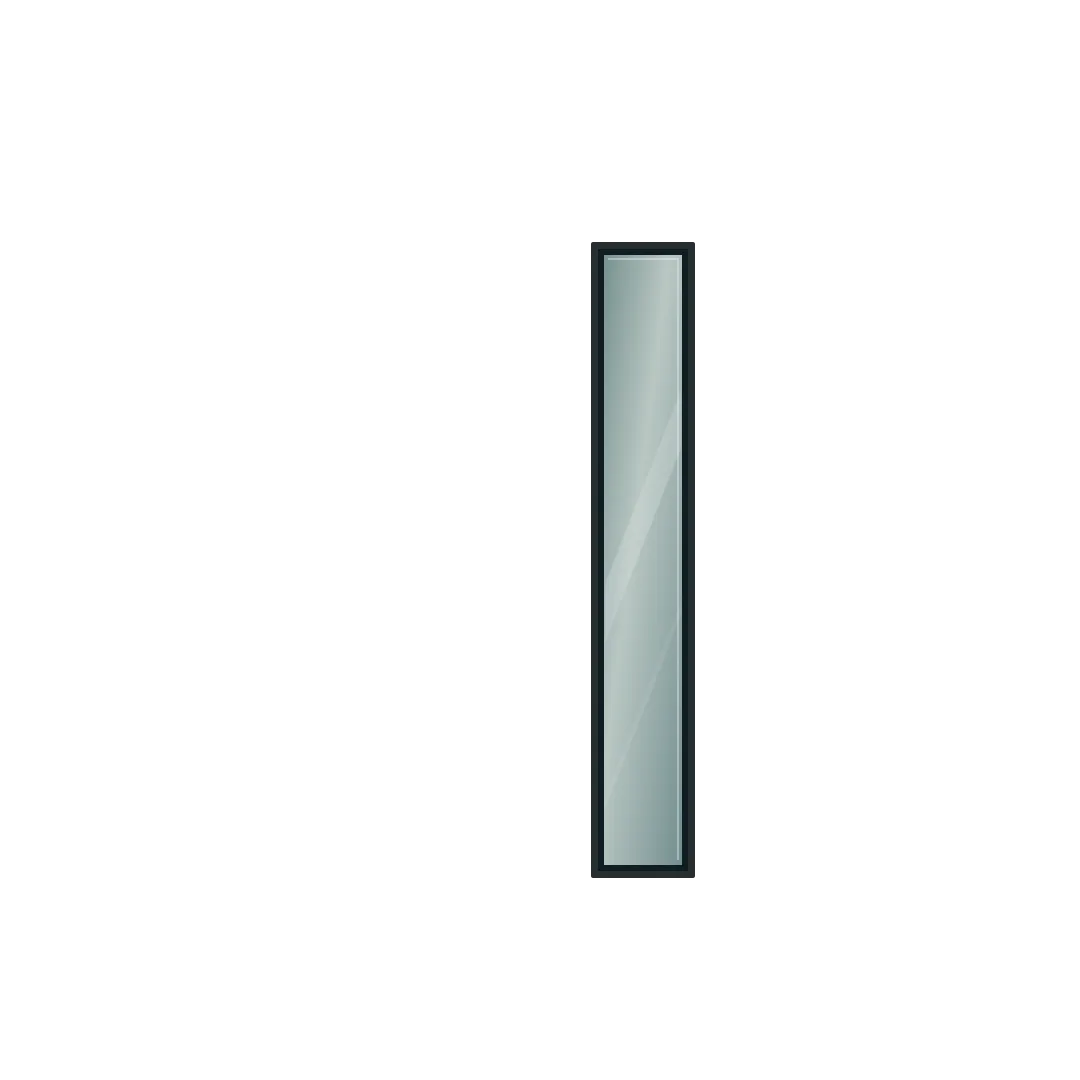

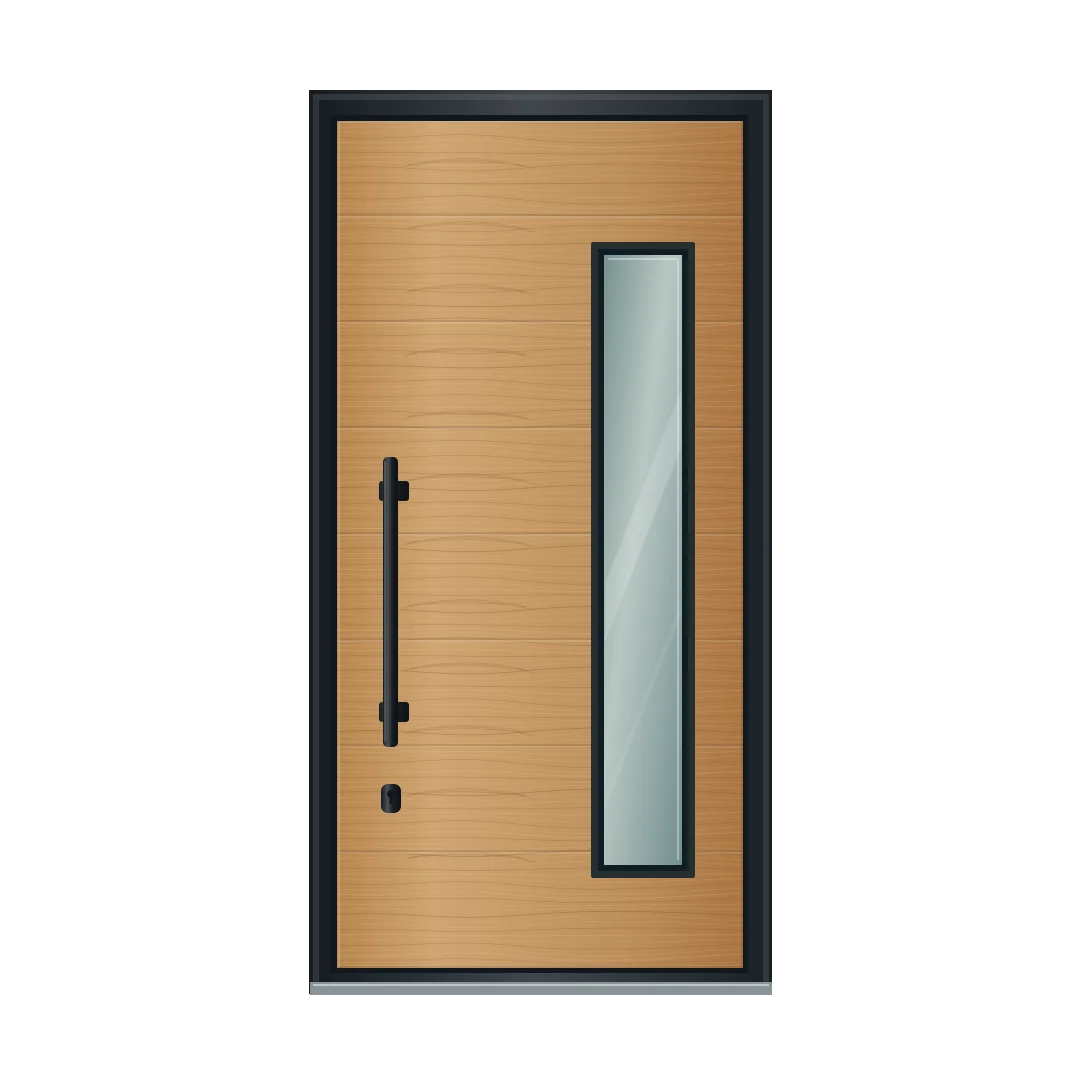
The empty space is part of every file.
Start with one shared canvas.
Keep size, camera, crop and position the same.
What needs to stay fixed?
Use one editable master file. Keep the product scale, perspective, lighting and shadows consistent. Export every part on the full canvas; do not trim empty pixels or centre each part separately.
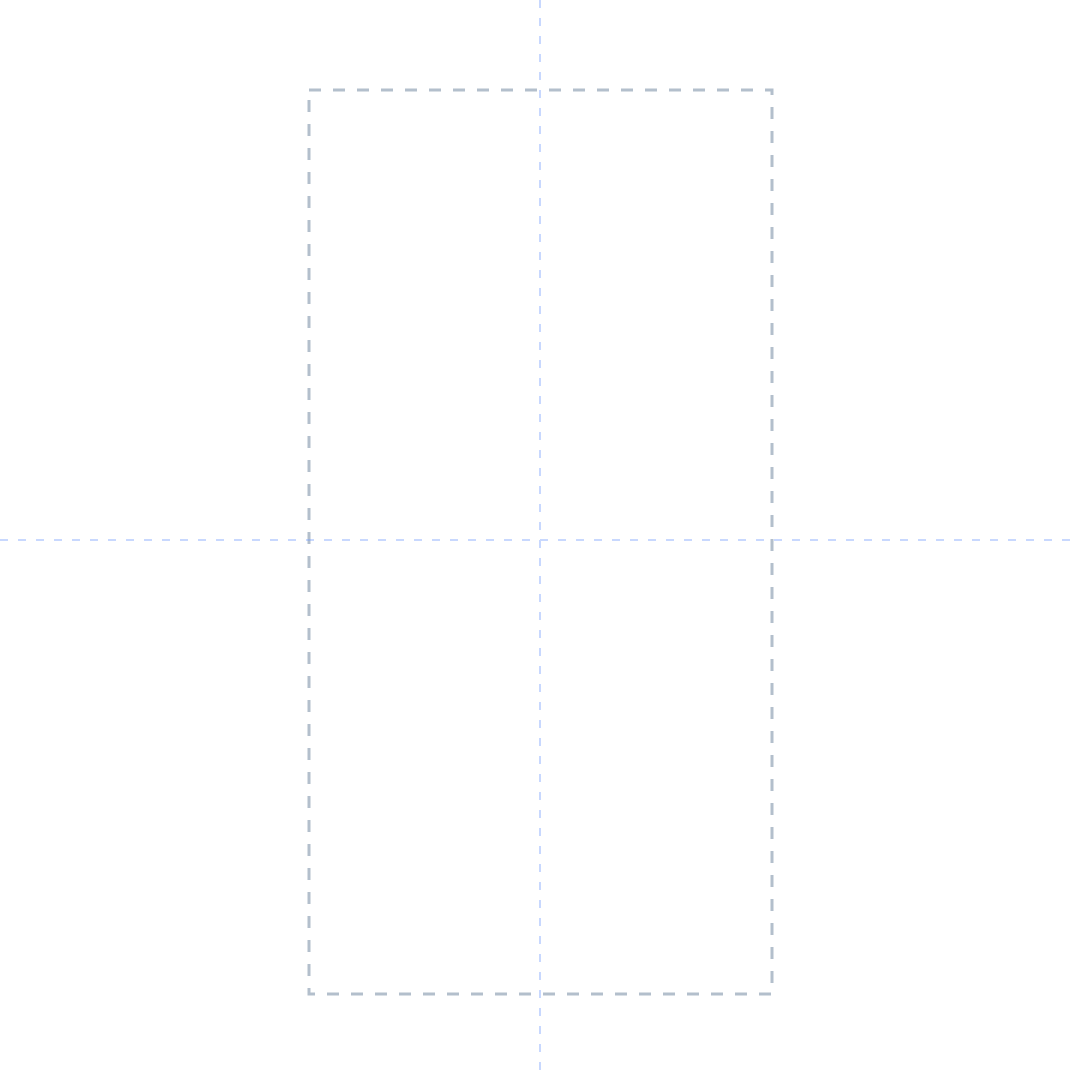
Export the part.
Keep the empty space.
Use transparent layers for parts that change independently.
Layers or complete images?
Independent parts use PNG or WebP with transparency. A full scene or a different camera view may need a complete replacement image. JPG is suitable for complete opaque images, not transparent overlays.
Prepare one image for each finish or handle. You do not need to render every complete combination when the independent parts align reliably.
✓××✓Layer order · back to front
PNG or WebP
with transparency
The checkerboard shows empty pixels. It is not part of the export.
Keep the quality.
Reduce the file size.
Compress your exports without changing their dimensions.
What should I check after export?
Inspect edges against light and dark backgrounds. Check fine detail and transparent borders at the size your customer will see. Keep your editable master; compression depends on the image, so there is no single target file size for every layer.

178 KBPNG · 1080 × 1080
13 KBWebP · 1080 × 1080
Detail view only
Actual file sizes from the sample pack. Your images may differ.
Connect the layers in ConfigUX.
Add your images. Review the connections. Test your choices.
← Back to Finish
Oak
Open a choice in Options to review its Image connection.
Oak + Black · Try the choices. The frame and glass stay in place.
- 1 · Add imagesUpload in Assets or add your files when creating the configurator.
- 2 · ReviewOpen your choice in Options and check its Image connection.
- 3 · PreviewTry every finish and handle. Check alignment on desktop and mobile.
How do layered connections differ from full images?
A layered project keeps the base and combines independent transparent images in a fixed order. The current Studio preserves those existing layered connections. Its simple “Product image” and “Apply image connection” controls assign a complete replacement image. A transparent handle alone is not a complete replacement product image.
This is an illustrative Studio view using the sample files. The buttons demonstrate the layer result locally; they do not create or edit a configurator in your account.
Keep your files together in Assets.
Change a choice. Keep the same position.
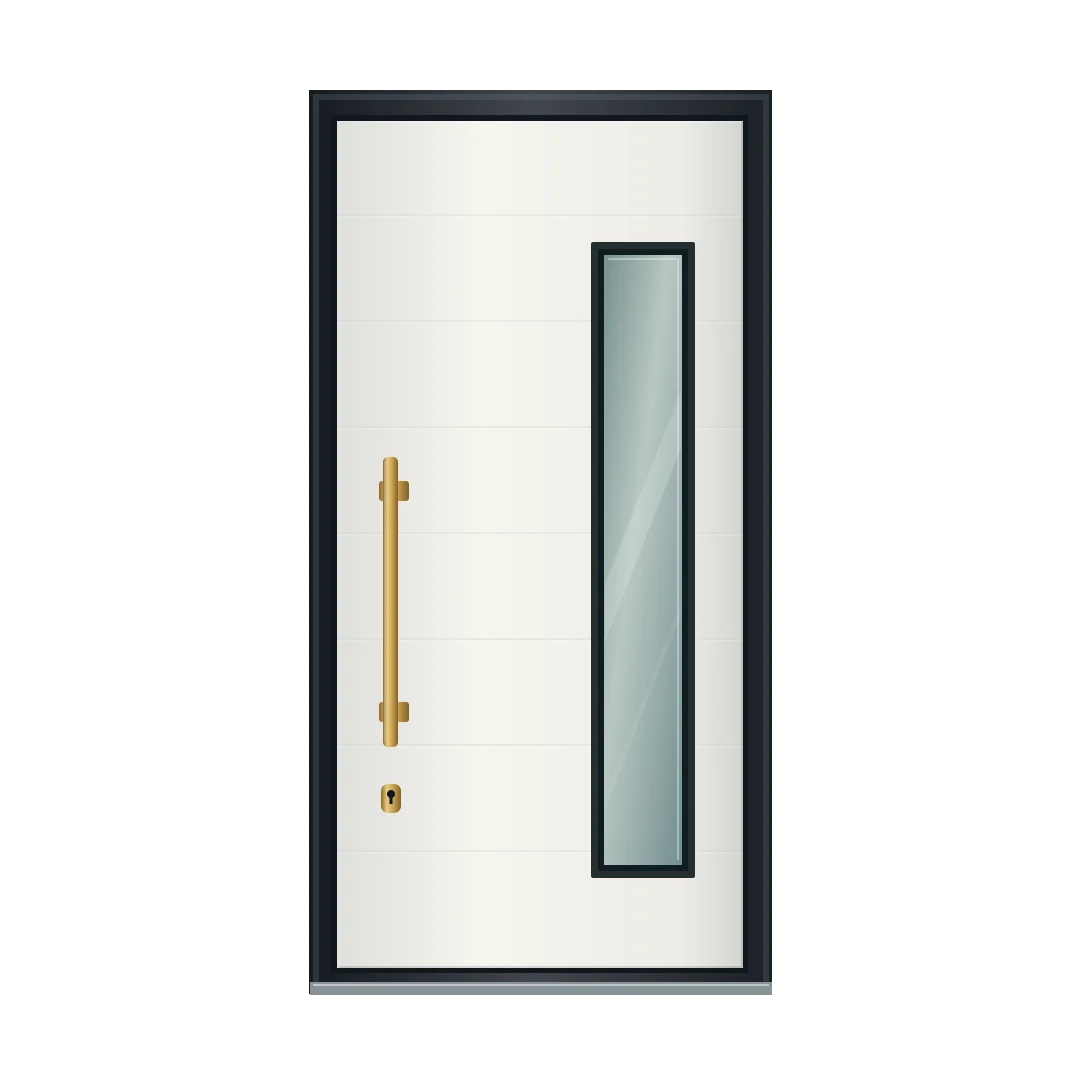
Try it with a sample pack.
Six aligned layers. Two finishes. Two handles.
PNG, WebP and editable source files.